Your support keeps our blog going ♥ We may earn a small commission if you shop via our affiliate links. Learn more here.
Gallery walls have been having a moment!
Whether you like them colourful and cluttered or simple and subtle, gallery walls have stayed on trend for years now.
That said, there’s nothing new about them. Gallery walls (originally known as salon walls) have a long history, tracing all the way back to 17th century Paris.
If you want to create a gallery wall of your own, my advice will always be do it.
Depending on how big you’re going, it can definitely be an intimidating undertaking. But it doesn’t have to be!
Read our step-by-step gallery wall hanging guide below.
🎬 WATCH: How to hang a gallery wall
Step 1: Collect your frames
If you’re framing any prints or photos, you’ll obviously need to suss out some frames for them.
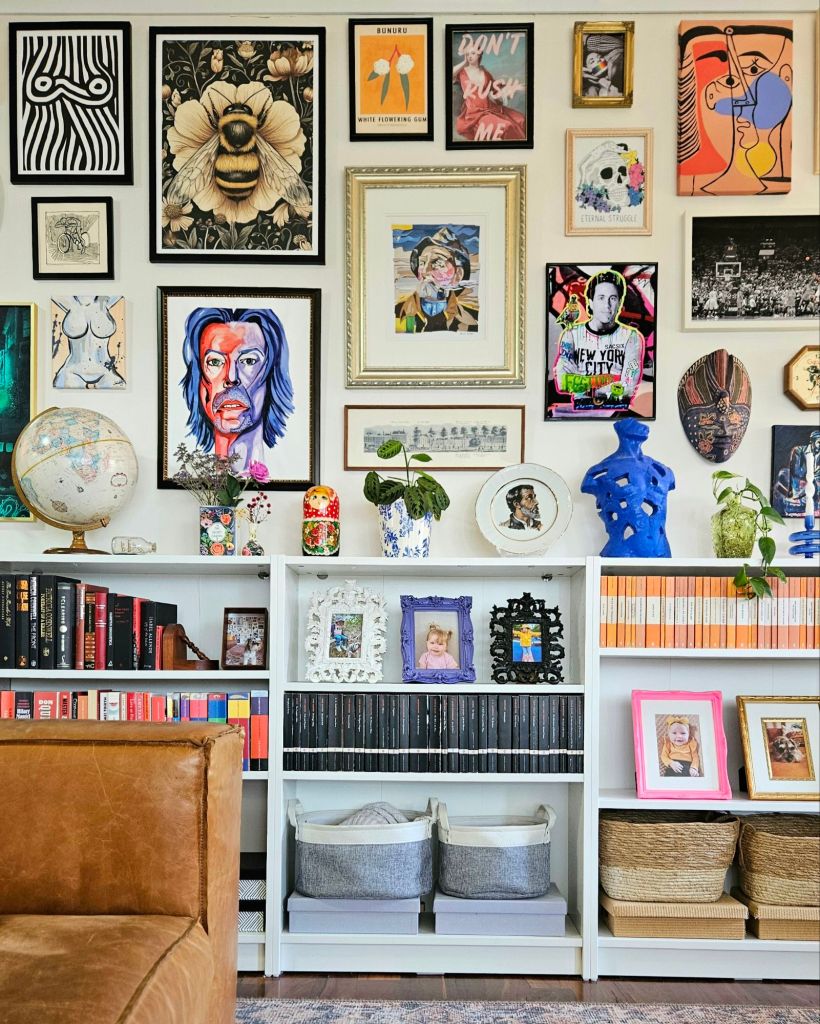
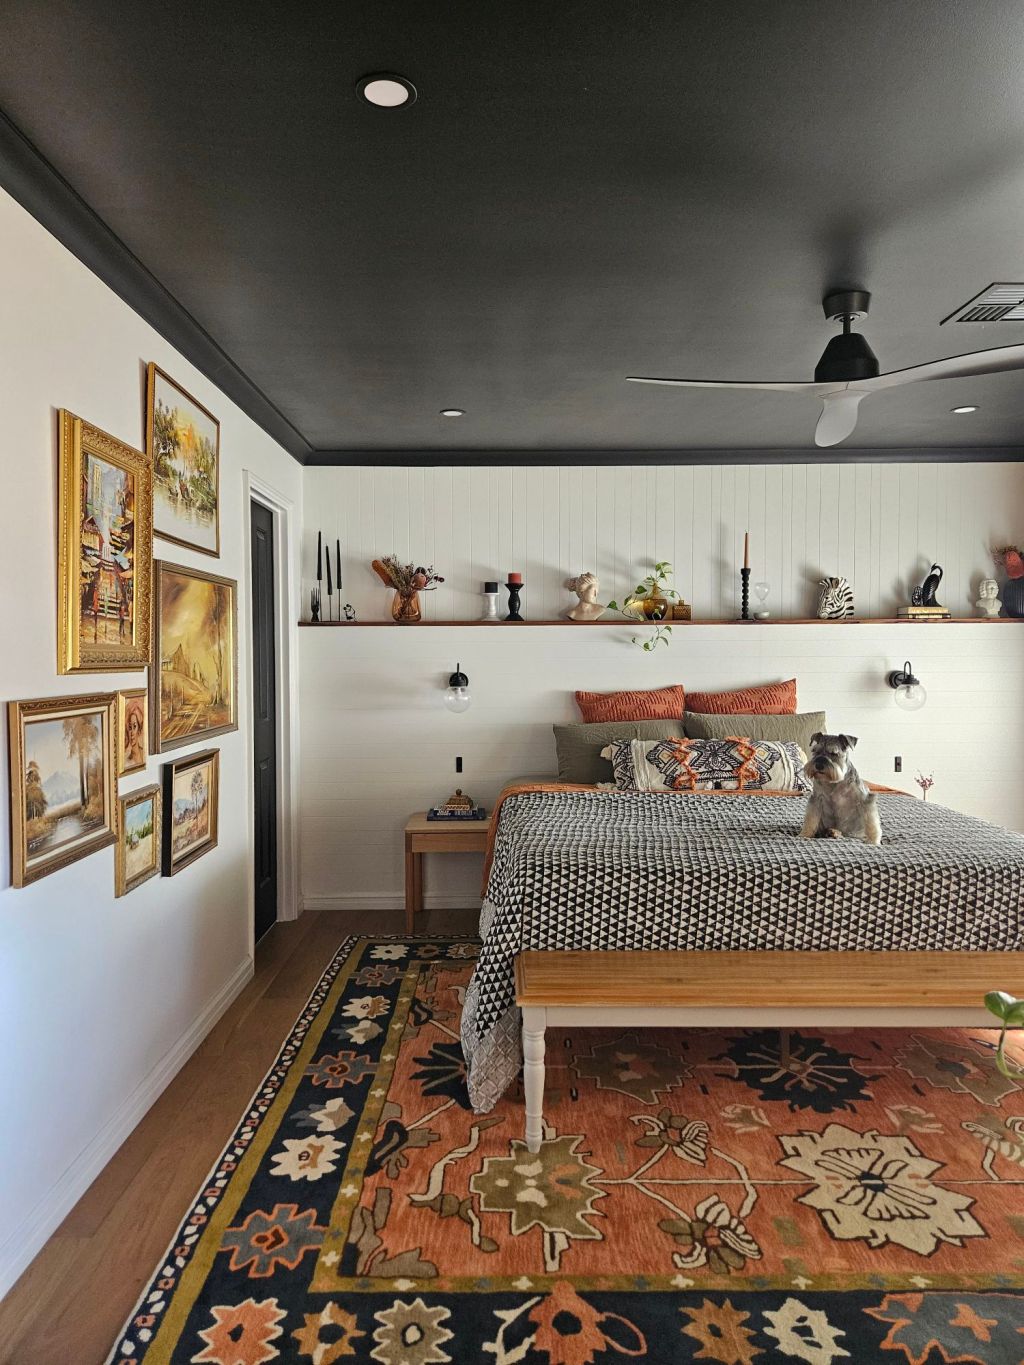
Since we knew we wanted a really big gallery wall in our living room, we started collecting frames first and then picked the art later.
To make sure there was harmony, we only collected frames in black, white, gold and wood. They could be minimalist or ornate, as long as they fit that colour palette. We planned to have a lot of colour in the art itself so we didn’t want to start collecting colourful frames too.
Having a common thread; whether it’s the style of frame, art, colours or theme will help your gallery wall feel cohesive.
I also recommend varying the sizes of your frames. You don’t want a wall filled with lots of small frames; it won’t make quite as good an impact.
We made this mistake early on and over time and replaced some of the smaller frames with larger ones.
You can have a few smaller frames scattered in there, but concentrate first on larger frames of various sizes then fill the gaps with some smaller frames, taking into account the distance you’ll be viewing the wall from.
Step 2: Collect your art

Art is subjective and super personal, so I’m not going to tell you what art you should choose.
Definitely don’t just buy all your art from a big brand store, though. It won’t feel personal or original and you’re probably going to see that art some place else.
Slowly collect art on your travels through different cities.
Regularly browse secondhand stores and check what they have.
Invest in artwork by artists you follow on Instagram.
Or, source prints online. Some of my favourite art websites include:
- Fy! (use code MISMATCHEDHOME for 20% off)
- Drool Art
- Posteroo (use code HOME20 for 20% off)
- Inka Arthouse
- Da Vinci Arts (use code PAULA-DVA for 5% off)
- Zokis Canvas Art
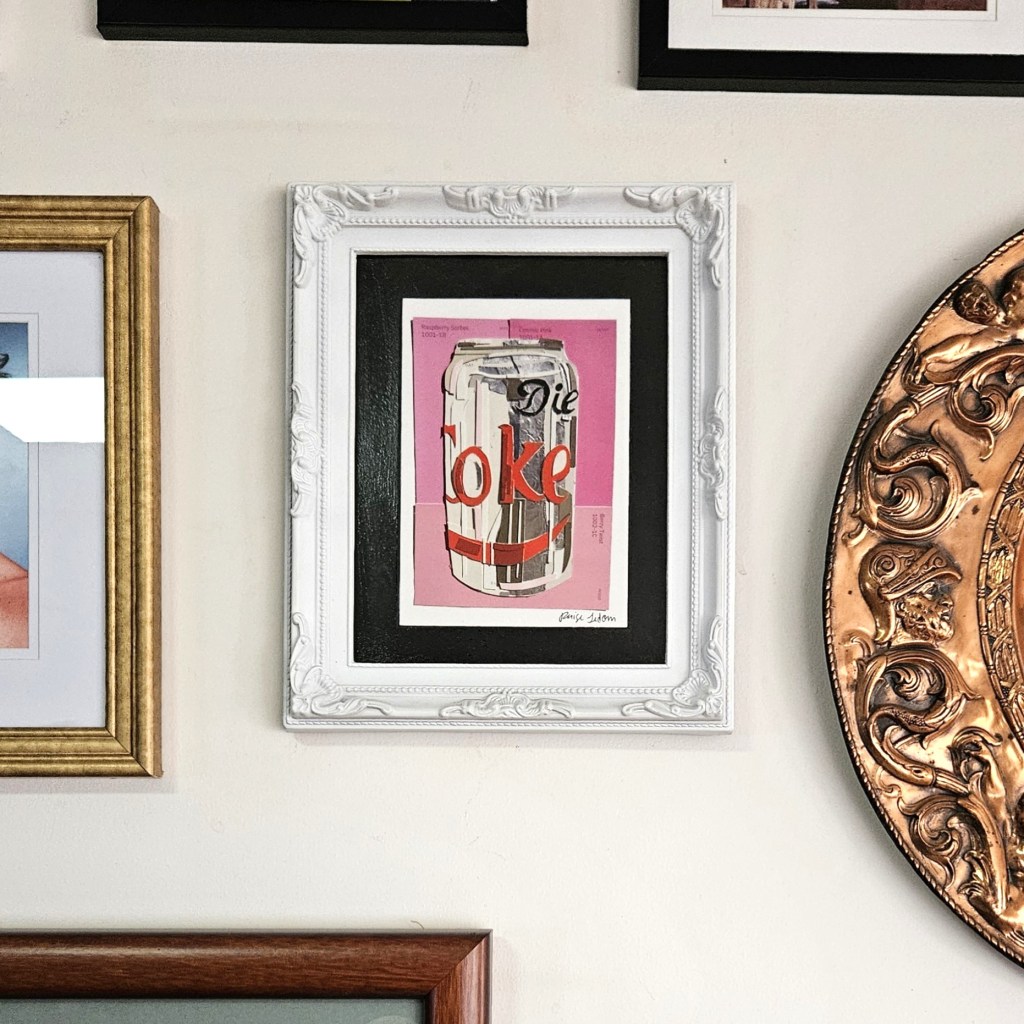
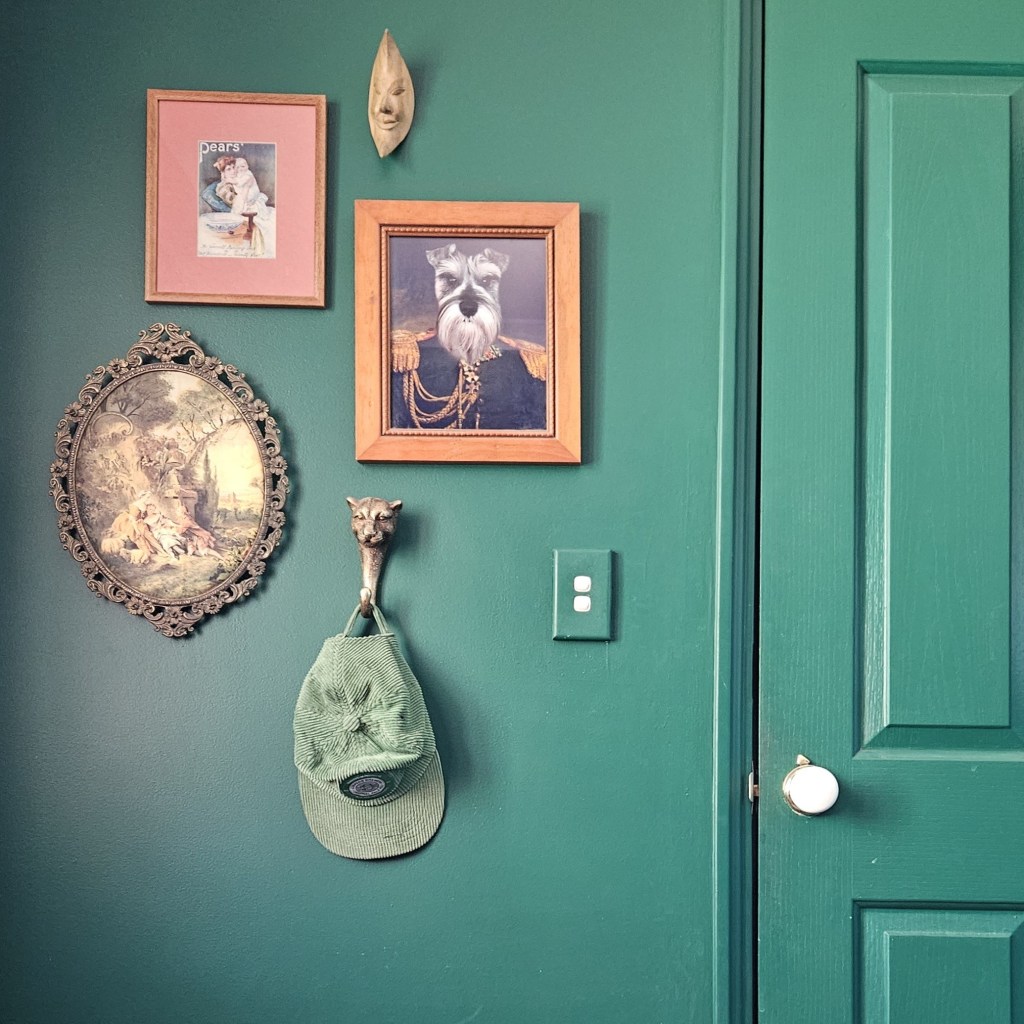
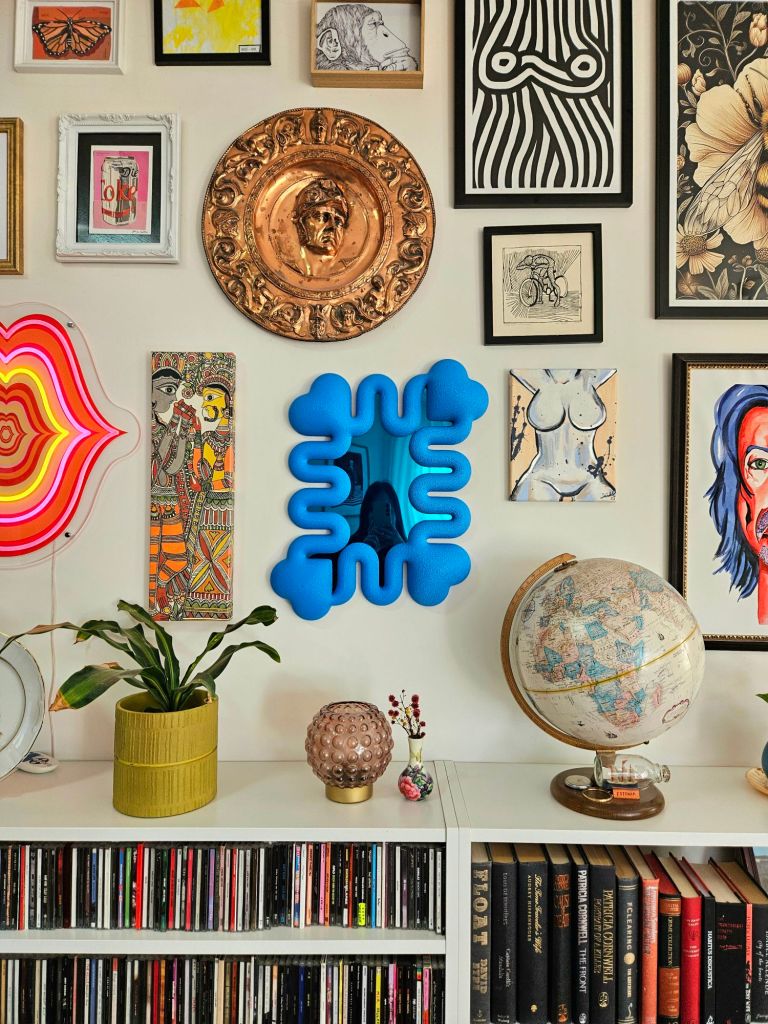
I also suggest you mix your media. Your gallery doesn’t necessarily need to showcase the same style of art or photography. The pieces on your wall don’t even all have to be framed or on canvas.
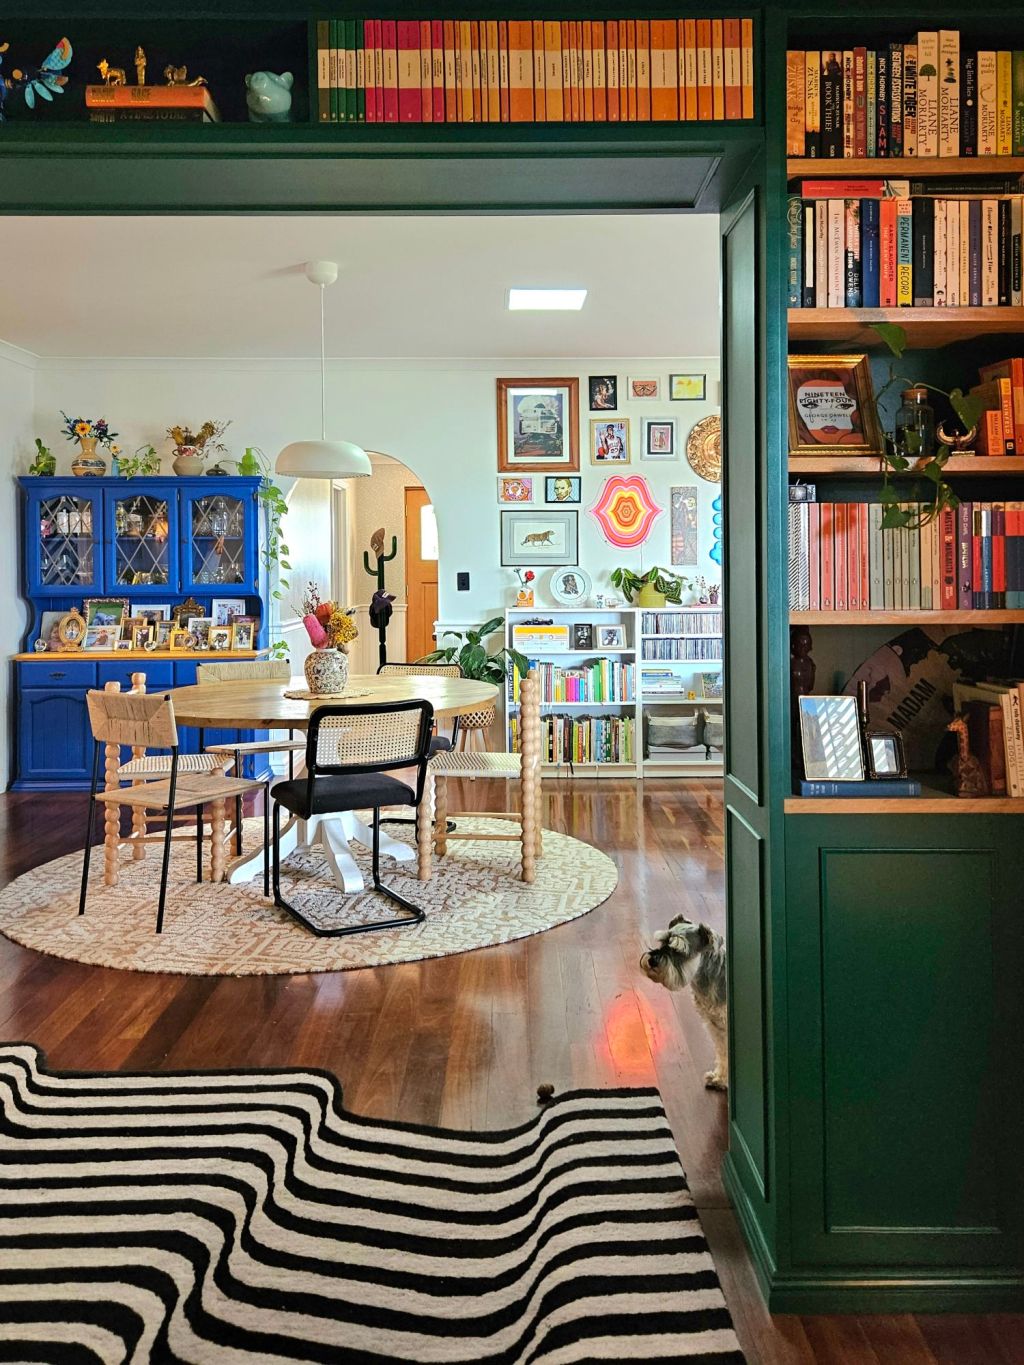
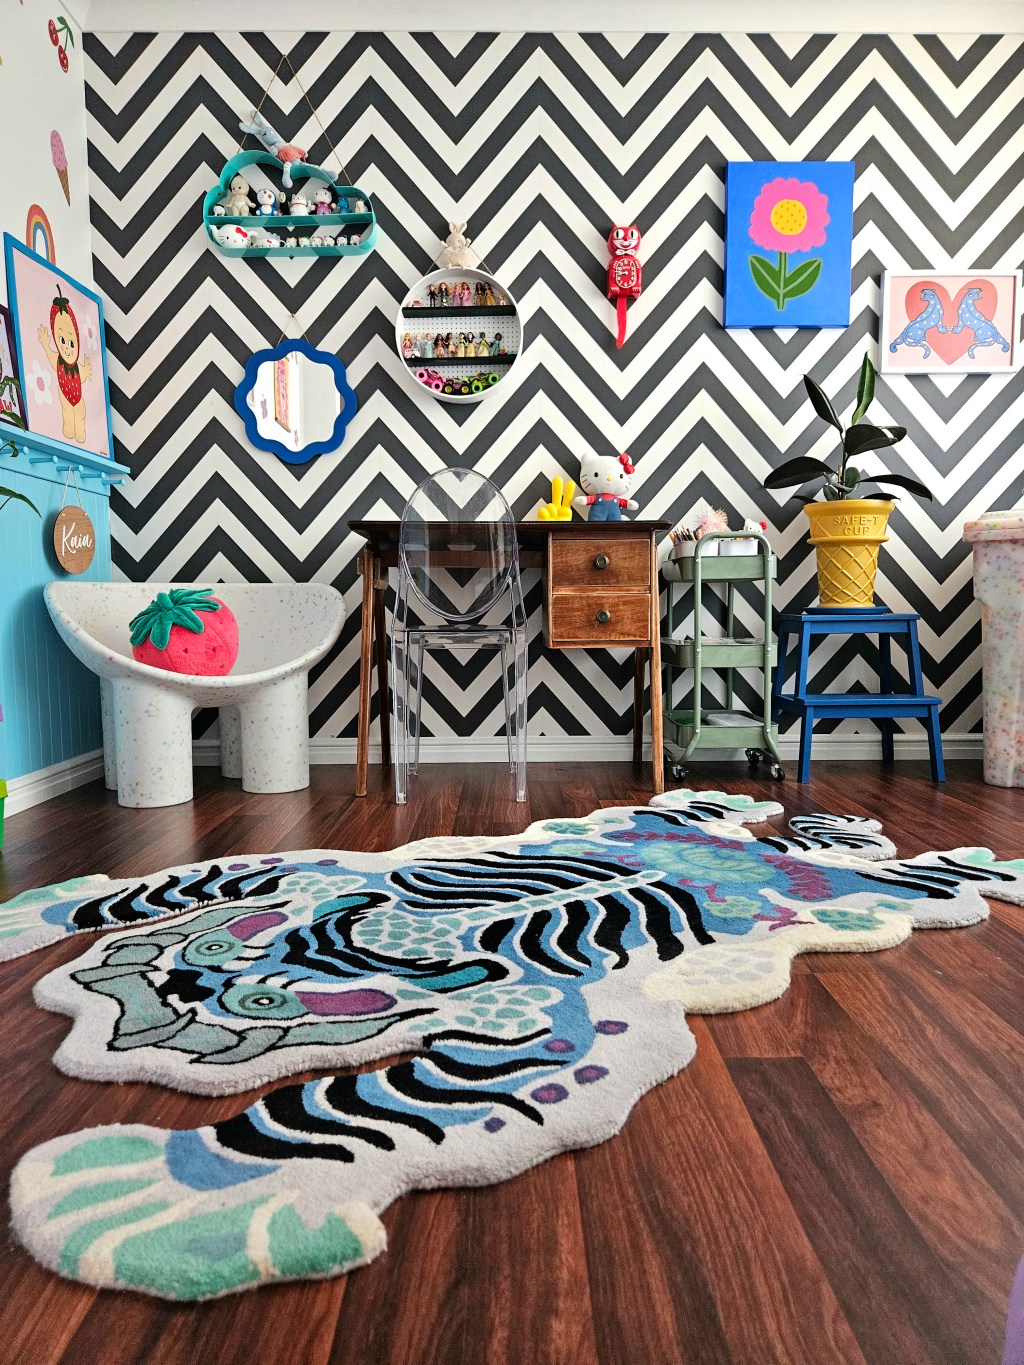
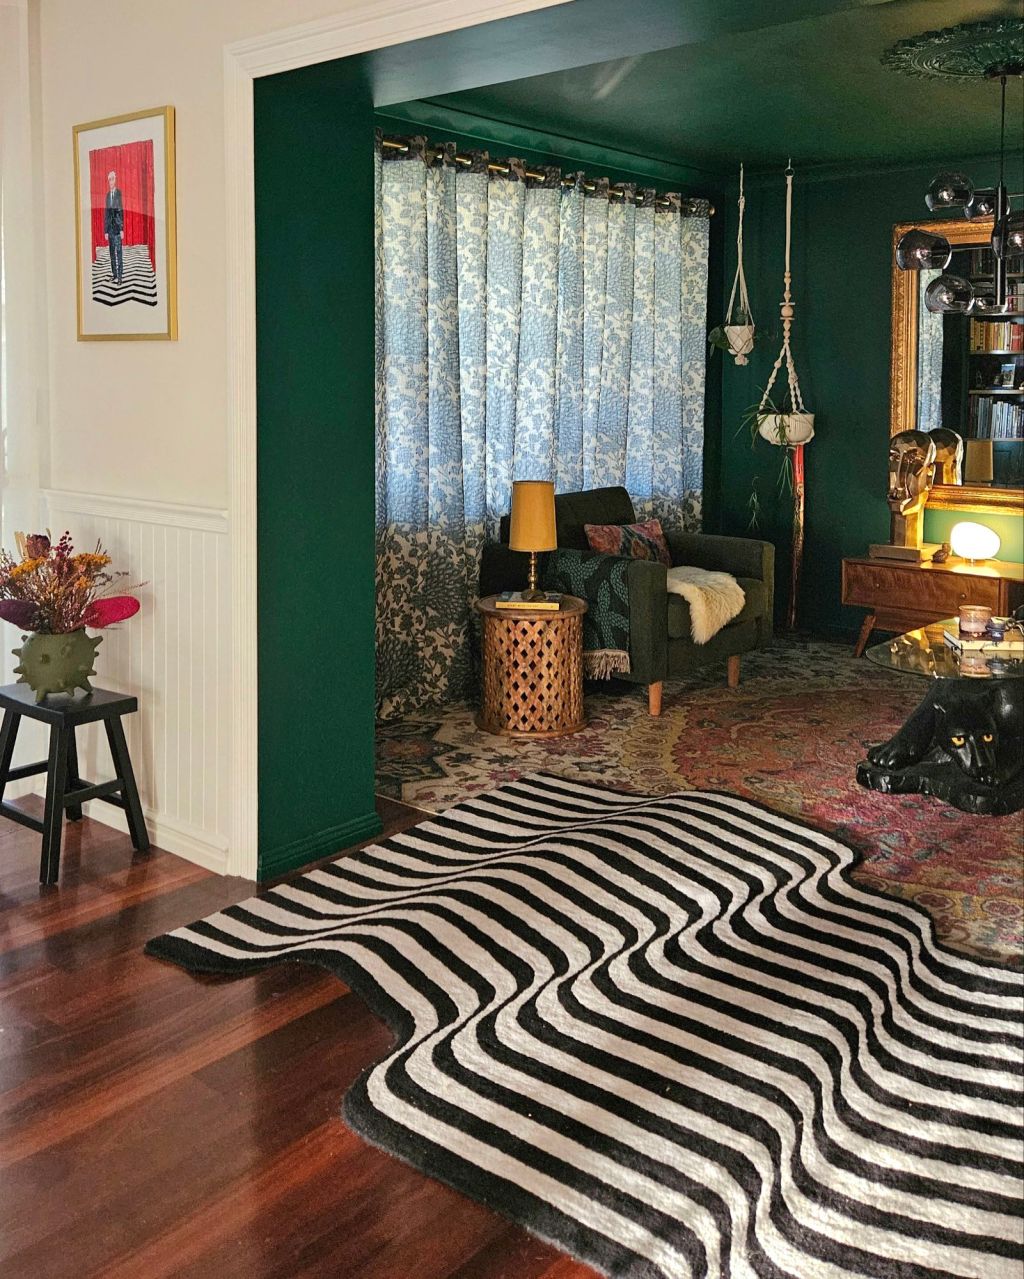
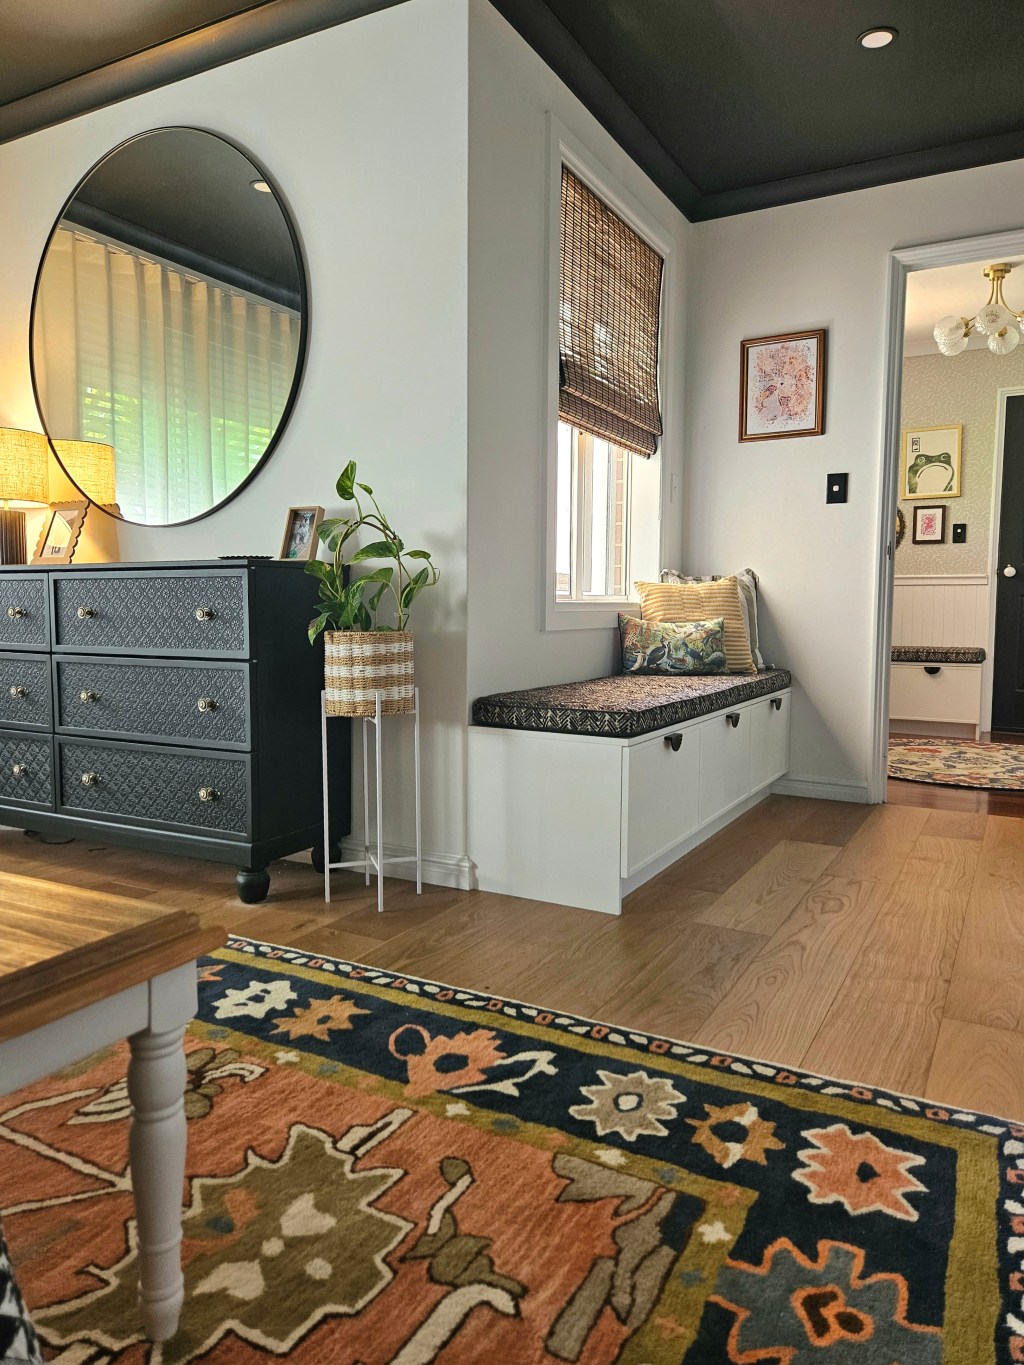
Gallery walls look better when they incorporate other shapes, such as plates, mirrors, clocks, masks & other wall hangings.
Mixing up the shapes will add interest and movement to your gallery wall.
Step 3: Mock up your layout

There are three main techniques here.
Technique 1: the somewhat lazy way. This is what we did when we first attempted a gallery wall. It was haphazard, but the wall still stands!
We measured our space then laid our frames out on the floor at roughly the size of the wall. We took a photo of it, and when we started installing, we just went by that. It didn’t work out exactly to plan, so we ended up winging it. And hey, it still worked! Our gallery wall is obnoxiously large though: you shouldn’t have this issue with a smaller space.
Technique 2: the perfectionists way. Get some craft paper or newspaper and cut them to the shape of your frames. Then tape them all to the wall and move them around until you get a layout you like.
This will give you a good idea of how the final shape looks, but not so much how the colours and styles of each artwork work next to each other.

Technique 3: the professional way. Use design software like SketchUp to model your frames on a wall to scale. This is the way I do it for my interior design clients (like the image here) and it helps you visualise exactly what you’re going to get.
If you’re not about to jump through the hurdle of learning professional design software but you want a mock up like this, hit me up via our interior design business, 6PM Interiors.

Step 4: Think about spacing
Before you get hanging, you may want to think about spacing.
Although gallery walls in essence kinda ignore the whole “blank space” rule, you still want to let each artwork breathe a little.
Maintaining similar gaps will help your gallery wall look neat, tidy and cohesive.
But don’t stress too much about all the gaps being the same – I think it’s more important to make sure you have gaps.
If you’re incorporating round or other non-rectangular shapes, you’re going to have some larger gaps in some areas, which will still look fine (as long as you have some gaps in the first place).
Step 5: Get hanging!
Again, you’ve got a few options here.
You could use command or sticky strips. Just be careful that they’re as strong as they claim and they won’t rip your paint.
Or, you may want to install a suspended picture hanging system, like they use in art galleries. This can be a little restrictive when it comes to layout though, and you will still see chains or whatever it is that’s holding your artwork to the rail.
Personally, I’m fond of just drilling screws into the wall and hanging frames off their hooks. It might be tedious to do for lots of frames (although so are the other two methods) but if you’re handy with a hammer or drill it’s definitely the way to go.
The sight of our living room under all the frames would send someone with trypophobia into a spiral… but holes can be filled and the finished gallery wall is oh so worth it.
👉 Follow @mismatchedhome on Insta for more from our home.


Leave a reply to 10 things you need for a thoughtfully designed space – mismatchedhome.blog Cancel reply